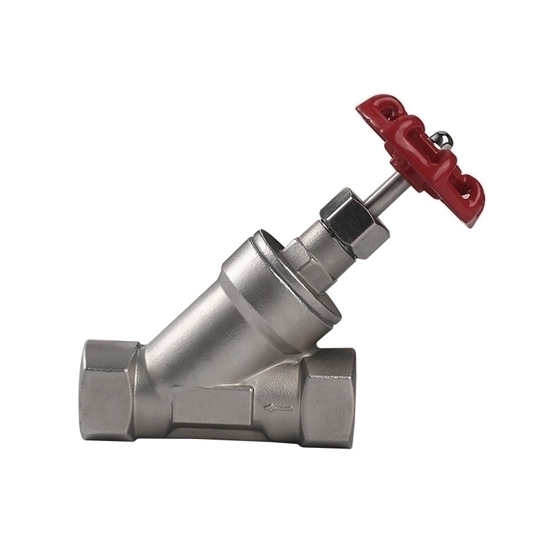
1-1/2" Manual Angle Seat Valve
from
$102.39
Ex Tax: $102.39
- Stock: In Stock
- Model: RDDLZ-MANGLE-DN40
- Weight: 1.00
- SKU: RDDLZ-MANGLE-DN40
Available Options
Create unlimited custom product blocks and display them in accordions or tabs or open blocks. Each block can be assigned to all products at once or specific products according to advanced criteria.
Create unlimited custom product blocks and display them in accordions or tabs or open blocks. Each block can be assigned to all products at once or specific products according to advanced criteria.
DN40 angle seat valve allows for quick and smooth operation, promoting ease of use in diverse settings. Its compact and space-saving structure makes it suitable for installations where space is limited.
Specification
- Model: RDDLZ-MANGLE-DN40
- Thread Port Size: 1-1/2 inch (DN40)
- Working Medium: Air, Water, Oil, Gas, Steam
- Body Material: 304 Stainless Steel
- Driving Mode: Manual
- Nominal Pressure: 1.6Mpa
- Connection type: Internal thread
Manual Angle Seat Valve Dimension
- G: 1-1/2 inch (DN40)
- L: 125mm
Tips: How to install a manual angle seat valve?
- Prepare the Tools: Gather the necessary tools and materials, including the valve, pipe fittings, wrenches, thread sealant, and Teflon tape.
- Shut off the System: Ensure that the fluid or gas supply to the pipeline is turned off to prevent any accidents.
- Position the Angle Seat Valve: Determine the appropriate location for the valve on the pipeline. Ensure it is oriented correctly according to flow direction.
- Pipe Connection: Use pipe wrenches to connect the valve to the pipeline, using thread sealant or Teflon tape on the threads to create a leak-free connection.
- Tighten Connections: Make sure all connections are securely tightened to the manufacturer's specifications.
- Test for Leaks: Turn on the system and test for any leaks around the valve and connections. If there are any leaks, re-tighten the fittings.
- Operational Testing: Test the valve by operating it to control the flow of fluid or gas. Ensure it functions correctly.
- Secure the Valve: Once you confirm the valve is functioning properly, secure it in place.
- Resume System Operation: Finally, open the system to resume regular operation.
Builder in Product TAB
NEW! Since Journal 3.2, the much improved T.A.B (Tabs Accordion Blocks) system supports the page builder inside the tab content. Unlimited Blocks, Tabs or Accordions with any HTML content or the builder interface (supporting custom rows/columns/modules) can be assigned to any individual product or to certain groups of products, like entire categories, brands, products with specific options, attributes, price range, etc.
You can indicate any criteria via the advanced product assignment mechanism and only those products matching your criteria will display the modules.
Also, any module can be selectively activated per device (desktop/tablet/phone), customer login status and other criteria. Imagine the possibilities.
