
- Stock: In Stock
- Model: RDDLZ-DMI-820
- Weight: 1.00
- SKU: RDDLZ-DMI-820
Available Options
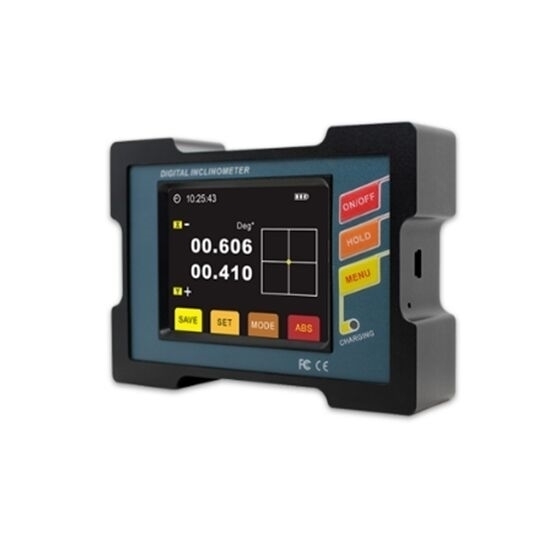
Lower cost inclinometer with output signal USB1.1 for sale, the digital inclinometer with dual axis, radian, angle, mm/ meter three measuring modes can be set.
Features
- Accuracy: <0.003°
- Repeatability: 0.003°
- Angle resolution: 0.001°
- Measuring range: ±15°/ ±30°
- Data store function.
- Absolute/Relative measurement can switch.
- Both sides and bottom can be measured.
- Double benchmark strong magnet installation.
- Auto-angle interleaved compensation function.
- Auto temperature drift compensation.
- Built-in rechargable industy battaries.
- Night vision fours colors screen.
- Filter frequency optional.
Specification
| Model | DMI820-15 | DMI820-30 |
| Angle Measuring Range* | ±15° | ±30° |
| Mm Measuring Range | 267mm | 577mm |
| Millimeter Measuring Accuracy | 0.1 mm (RMS) | 0.2 mm (RMS) |
| The Highest Measuring Accuracy | <0.005 (Full measuring range) | <0.001 (Full measuring range) |
| Measuring Axis | Dual axis | |
| Angle Measuringt Solution | 0.001° | |
| Three Measuring Mode | Radian, Angle, mm/meter can be set | |
| Absolute Accuracy | 0.05°/rms | |
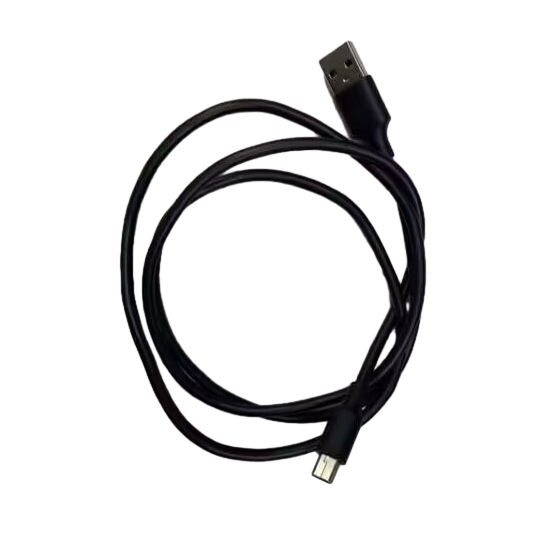
| Output Signal* | USB1.1 (Virtual Serial Device), Optional: RS232/RS485 | |
| Millimeter Measuring LCD | 0.02 mm | |
| LCD | 64-color true color luminous display | |
| LCD Visible Area Size | L57.6mm*W43.2mm | |
| Working Temperature | -10℃-70℃ | |
| Working Humidity | 85% RH | |
| Power Supply | 3.7V Charging Lithium Battery | |
| Ideal Charging Time | 5h | |
| Battery Sustainable Charging Times | 11h | |
| Connect Plug in | Standard 5 Pin USB Connector | |
| Equipped with PC Software | VC Software | |
| Shock Resistance | 10g @11ms, three-axis (Half sine wave) | |
| Shock Impact | 10g rms, 10-100Hz | |
| Weight | 300g | |
| Waterproof Grade | IP54 | |
| Material | Aluminum Anodizing | |
| Size | L107mm*W75mm*H27.1mm | |
| Certificate | CE, FCC, ROHS | |
| Warranty | 12 months | |
Dimension (unit=mm)
Measuring Direction
Tips: How to Use Digital Inclinometer?
After we reinstall the battery or press and hold the value lock key (HOLD) for 6 seconds, the inclinometer will enter the calibration state, and the LCD will display the symbol "-1-". The inclinometer must be calibrated to perform the measurement. The calibration steps are as follows:
1. Place the inclinometer on the platform facing the operator, short press the absolute measurement key (ABS), the first stage of calibration symbol "-1" displayed on the screen flashes.
2. After the first stage of the calibration symbol "-1-" flashes for 6 seconds, the screen display will automatically switch to the second stage of the calibration symbol "-2-".
3. Rotate the inclinometer 180 degrees, and face the operator on the back of the product in the original position;
4. Short press the absolute measurement key (ABS), the second stage of calibration symbol "-2-" flashes;
5. After the second stage of the calibration symbol "-2-" flashes for 6 seconds, the screen displays the angle value of the current plane relative to the horizontal plane, and the calibration operation ends.
Note: The displayed angle after calibration is the angle between the currently calibrated plane and the absolute horizontal zero position of the earth.
