





- Stock: In Stock
- Model: RDDLZ-UT-B
- Weight: 1.00
- SKU: RDDLZ-UT-B
Available Options
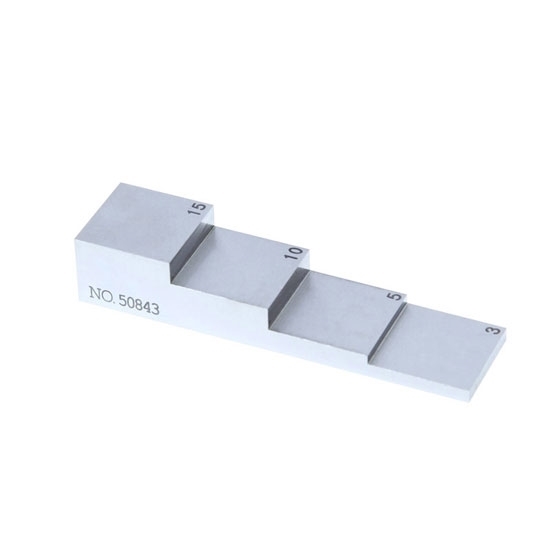
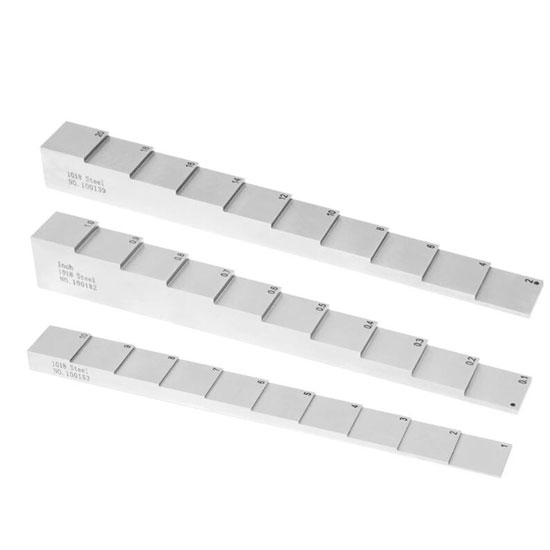
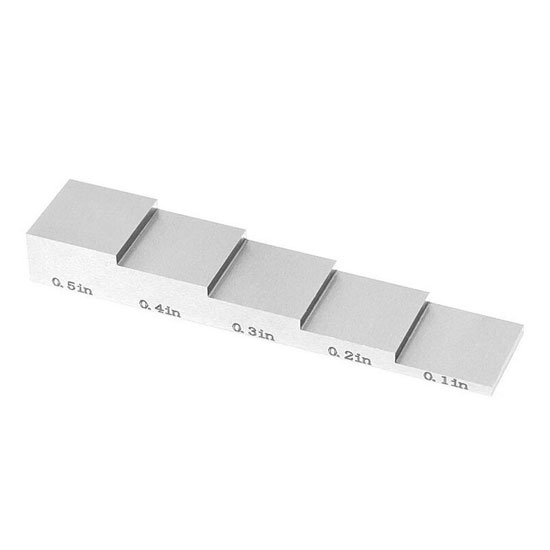
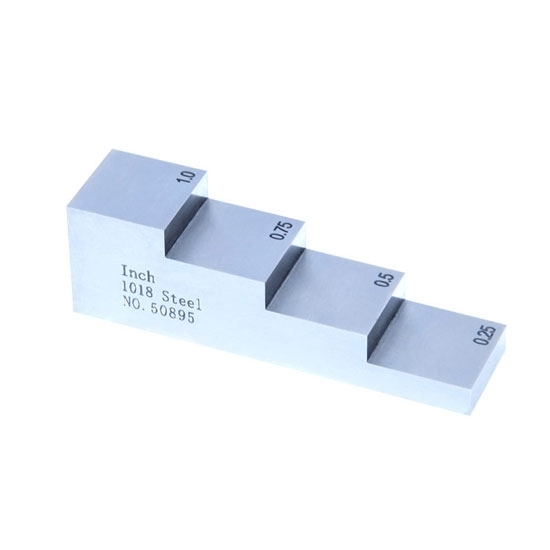
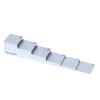
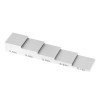
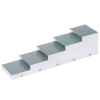
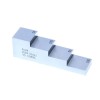
Calibration blocks for ultrasonic thickness gauge are available with 4 step, 5 step, 6 step and 10 step in millimeter and inch.
Calibration Block Specification
| Model | Item | Parameter | Size | Material |
| RDDLZ-B-101-0001 | 4 step calibration block | 3mm 5mm 10mm 15mm | 80 x 20mm | 1018 Steel |
| RDDLZ-B-101-0012 | 0.100” 0.200” 0.400” 0.600” | 3.15 x 0.7in | 1018 Steel | |
| RDDLZ-B-101-0002 | 0.250” 0.500” 0.750” 1.000” | 3.15 x 0.8 inch | 1018 Steel | |
| RDDLZ-B-101-0013 | 5 step calibration block | 5mm 10mm 15mm 20mm 25mm | 100 x 20mm | 1018 Steel |
| RDDLZ-B-101-0003 | 0.100” 0.200” 0.300” 0.400” 0.500” | 4 x 0.8 inch | 1018 Steel | |
| RDDLZ-B-101-0004 | 6 step calibration block | 1mm 3mm 5mm 10mm 15mm 20mm | 120 x 20mm | 1018 Steel |
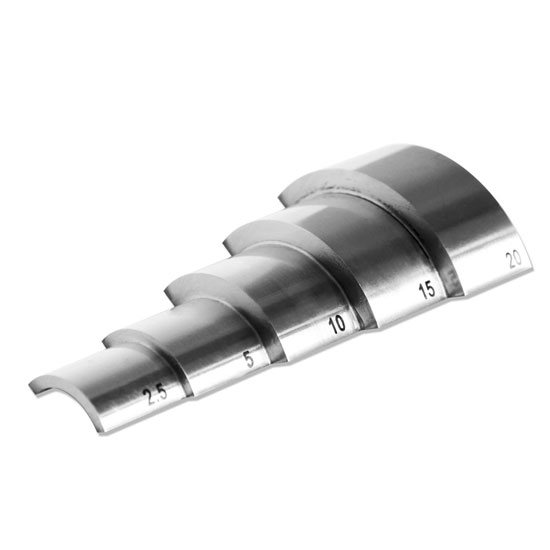
| RDDLZ-B-101-0005 | 2.5mm 5mm 10mm 15mm 20mm 25mm | 120 x 20mm | 1018 Steel | |
| RDDLZ-B-101-0006 | 10 step calibration block | 1mm 2mm 3mm 4mm 5mm 6mm 7mm 8mm 9mm 10mm | 200 x 20mm | 1018 Steel |
| RDDLZ-B-101-0007 | 2mm 4mm 6mm 8mm 10mm 12mm 14mm 16mm 18mm 20mm | 200 x 20mm | 1018 Steel | |
| RDDLZ-B-101-0008 | 0.100” 0.200” 0.300” 0.400” 0.500” 0.600” 0.700” 0.800” 0.900” 1.000” | 8 x 0.8 inch | 1018 Steel | |
| RDDLZ-B-101-0009 | 5 step calibration block | 2.5mm 5mm 10mm 15mm 20mm | 100mm | 1018 Steel |
Tips: Why you need a calibration block for ultrasonic thickness gauge?
The ultrasonic thickness gauge is used to accurately measure the thickness of different materials under different conditions. In order to meet the requirements of the maximum accuracy measurement, a set of reference test blocks or calibration block will be very important. The closer the material of the calibration block is to the material to be tested, the more accurate the measurement. The ideal reference test block is a set of test pieces of different thicknesses of the material to be tested. The calibration block can offer the UT instrument compensation correction factors.
In most cases, using one calibration block can obtain satisfactory measurement accuracy. This reference test block should have the same material and similar thickness as the tested material.
For thin materials, when its thickness is close to the lower limit of probe measurement, the calibration block can be used to determine the exact lower limit. Do not measure materials below the lower limit of thickness. If a thickness range can be estimated, the upper limit should be chosen for the thickness of the calibration block.
As for the thick material to be tested, especially for alloys with complex internal structures, the one among the reference block that is close to the tested material should be selected, so as to facilitate calibration.
