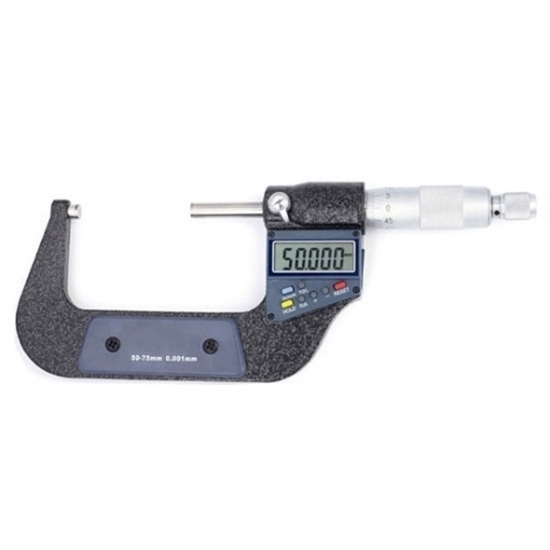
- Stock: In Stock
- Model: RDDLZ-DM-N775
- Weight: 1.00
- SKU: RDDLZ-DM-N775
Available Options
Digital outside micrometer for sale, micrometer is accurate to 0.0001 inch, range is 2 to 3 inches, large LCD display for easy reading, with mm/inch conversion and data hold function. Digital micrometer carbide anvil and spindle for added durability and precision.
Specification
| Model | RDDLZ-DGN7-5075 |
| Digital Display Scale | Digital display + scale |
| Range | 50~75mm (2~3 inch) |
| Resolution | 0.001 mm (0.00005 inch) |
| Accuracy | ±0.003mm (0.0001 inch) |
| Metric to English Conversion | Yes |
| Home Position Measurement | Yes |
| Data Hold | Yes |
| Power Supply | LR44 button cell |
| Out of Tolerance Alert | Yes |
| Scale Body Quality | High quality steel |
| Product Process | Surface spraying |
| Scale Process | Laser scale |
| Packaging | Drop-proof blow mold box |
Set zero
- Wipe the probe measuring.
- Probe closure.
- Lock the screw with the stopper.
- Use a wrench to pull the fixing sleeve until the zero line is aligned.
Details
Tips: What is the zero calibration of a digital outside micrometer?
When using the dry scale, first check whether its zero position is calibrated, so first loosen the locking device, and remove the oil, especially the contact surface between the measuring anvil and the micrometer screw should be cleaned. Check whether the end face of the differential cylinder coincides with the zero line on the fixed casing, if not, you should first rotate the knob until the screw is close to the anvil, rotate the force measuring device, when the screw is just in contact with the anvil will hear a click sound, then stop turning. If the two zero lines still do not overlap (the two zero lines overlap is marked by: the end of the differential cylinder
If the two zero lines still do not coincide (the sign of the coincidence of the two zero lines is that the end of the differential cylinder coincides with the zero line of the fixed scale and the zero line of the movable scale coincides with the horizontal line of the fixed scale), the small screw on the fixed casing can be loosened and the position of the casing adjusted with a special spanner so that the two zero lines are aligned and then the small screw tightened.
