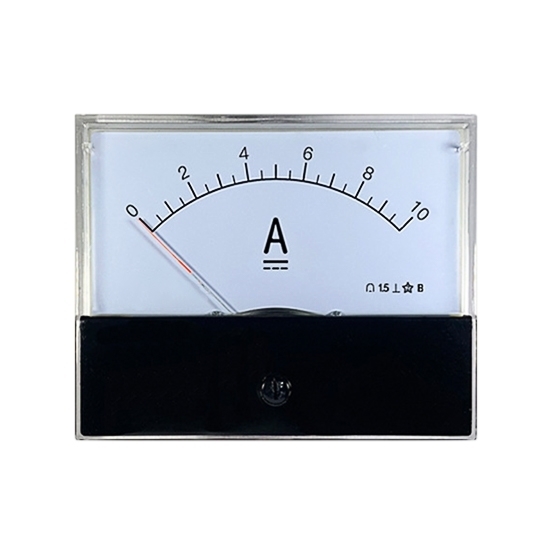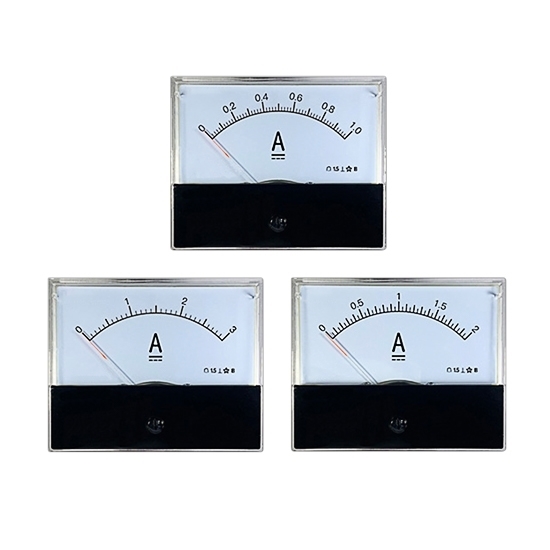


DC Analogue Panel Ammeter
from
$58.36
Ex Tax: $58.36
- Stock: In Stock
- Model: RDDLZ-DAPA-100
- Weight: 1.00
- SKU: RDDLZ-DAPA-100
Available Options
Create unlimited custom product blocks and display them in accordions or tabs or open blocks. Each block can be assigned to all products at once or specific products according to advanced criteria.
Create unlimited custom product blocks and display them in accordions or tabs or open blocks. Each block can be assigned to all products at once or specific products according to advanced criteria.
A DC analogue panel ammeter is typically designed for installation on control panels or equipment panels to provide a visual indication of current levels. DC analogue panel ammeter is simple and reliable.
Features:
- Needle and Scale Display. The most prominent feature of an analog ammeter is its needle or pointer that moves across a calibrated scale. The position of the needle indicates the amp being measured.
- Analog Technology. Analog ammeters use analog components such as moving coils, magnets, and springs to create the mechanism that translates amp into needle movement.
- Range Selection. Analog ammeters often come with multiple amp measurement ranges. Users can select the appropriate range based on the expected amp to achieve better accuracy and resolution.
Specification:
- Model: RDDLZ-44C2-A
- Measuring Range: DC 100uA-20A (other range, can be customized)
- Accuracy Class: 1.5
- Display Type: analog only
- Overload Ratio: 100%
- Damping Time: ≤4s
- Operating Temperature: 0-55 ℃
- Mode of Installation: mounted perpendicular to horiaaontal
- Weight: 1 kg
Wiring Diagram:
Dimension:
Tips: How to Test Analog Ammeter?
- Set Up the Test Circuit. Create a simple circuit using the known power source, the ammeter to be tested, and any necessary connecting wires. Connect the positive terminal of the power source to the positive terminal of the ammeter and the negative terminal of the power source to the negative terminal of the ammeter.
- Reference Multimeter. Use a multimeter with amperage measuring capabilities (usually labeled as "A" or "mA") to measure the current flowing through the circuit.
- Power On. Connect the circuit to the power source. Gradually increase the power source's voltage to produce a measurable current on the ammeter. Start with a low voltage and increase it slowly to avoid damaging the ammeter in case of a malfunction.
- Analog Ammeter Reading. Observe the reading on the analog ammeter. Note any discrepancies between the reading on the ammeter and the measurement on the multimeter.
Builder in Product TAB
NEW! Since Journal 3.2, the much improved T.A.B (Tabs Accordion Blocks) system supports the page builder inside the tab content. Unlimited Blocks, Tabs or Accordions with any HTML content or the builder interface (supporting custom rows/columns/modules) can be assigned to any individual product or to certain groups of products, like entire categories, brands, products with specific options, attributes, price range, etc.
You can indicate any criteria via the advanced product assignment mechanism and only those products matching your criteria will display the modules.
Also, any module can be selectively activated per device (desktop/tablet/phone), customer login status and other criteria. Imagine the possibilities.
